What is MacBook Pro Battery Recall Program from Apple?
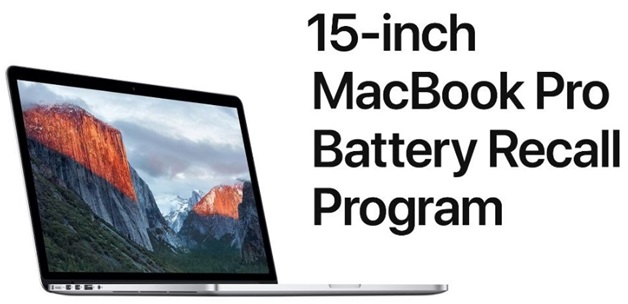
MacBook Pro Battery Recall Program from Apple is a program for older generation of 15 inch Macbook pro units where you can get your battery replaced from Apple.
Because Apple is concerned about customer safety and therefore launched this program for those MacPro units which have their battery overheated and pose a fire safety risk. Affected units were sold primarily between September 2025 and February 2025 and product eligibility is determined by the product serial number.
Thus under this program Apple’s top priority, is to replace affected batteries, free of charge.
MacBook Pro Battery Recall Program Eligibility
First check to see which 15-inch MacBook Pro you have. Choose About This Mac from the Apple menu) in the upper-left corner of your screen. Confirm your model is “MacBook Pro (Retina, 15-inch, Mid 2025).” If you have that model, enter your computer’s serial number below to see if it is eligible for this program.
If your MacBook Pro is eligible, then stop using it and follow the instructions to have your battery replaced.
How does the replacement process work?
You will need to find an Apple Authorized Service Provider to have your battery replaced. Your MacBook Pro will be examined prior to any service to verify that it is eligible for this program. Service may take 3-5 days.
Back up your data before you take the replacement program
This program is for battery replacement only. You can contact Apple Support and speak with an Advisor if you would like to arrange paid service for any additional issue.
This worldwide Apple program doesn’t extend the standard warranty coverage of the 15-inch MacBook Pro and also this program does not affect your statutory or warranty rights.
Back up your data
There are many ways to back up your Mac.
Back up with Time Machine
Automatically back up all your files with Time Machine, which is built in to your Mac, or choose another backup method.
To create backups with Time Machine, all you need is an external storage device. After you’ve connected the storage device and selected it as your backup disk, Time Machine automatically makes hourly backups for the past 24 hours, daily backups for the past month and weekly backups for all previous months. The oldest backups will be deleted when your backup disk is full.
Connect one of the following external storage devices, sold separately
- External drive connected to your Mac, such as a USB or Thunderbolt drive
- Network-attached storage (NAS) device that supports Time Machine over SMB
- Mac shared as a Time Machine back-up destination
- AirPort Time Capsule, or external drive connected to an AirPort Time capsule or AirPort Extreme Base Station (802.11ac)
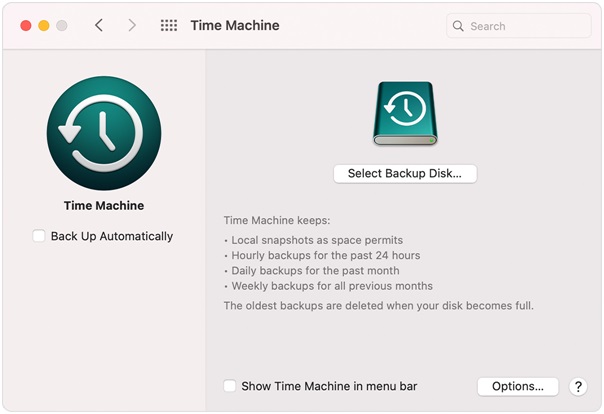
Select your storage device as the backup disk
Open Time Machine preferences from the Time Machine menu in the menu bar. Or choose Apple menu > System Preferences, then click Time Machine.
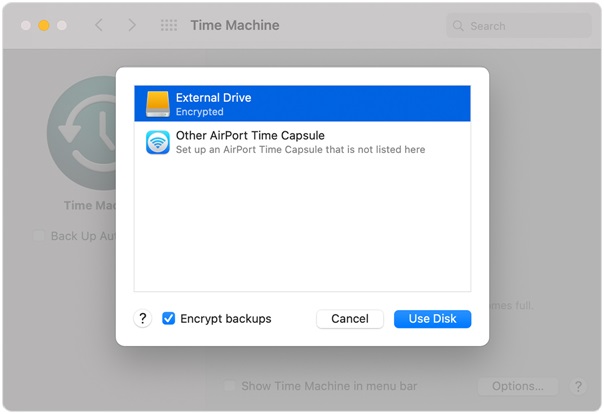
Click Select Backup Disk.
Select your backup disk from the list of available disks. To make your backup only accessible to users who have the backup password, you can select "Encrypt backups". Then click Use Disk
If the disk you selected isn’t formatted as required by Time Machine, you’ll be prompted to erase the disk first. Click Erase to proceed. This will erase all information on the backup disk.
After you’ve selected a backup disk, Time Machine will immediately start making periodic backups — automatically and without any further action by you. The first backup may take a long time, but you can continue using your Mac while a backup is underway. Time Machine only backs up the files that have changed since the previous backup, so future backups will be faster.
To start a backup manually, choose Back Up Now from the Time Machine menu in the menu bar. Use the same menu to check the status of a backup or skip a backup in progress.
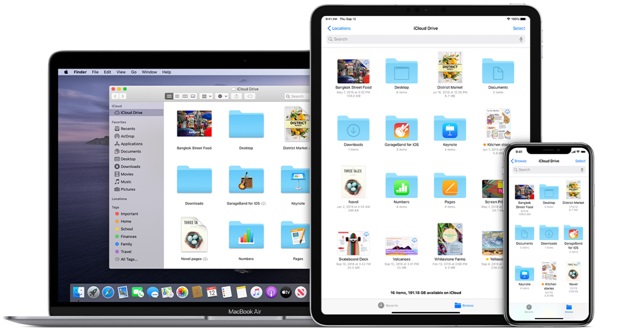
Store files in iCloud
You can also use iCloud and iCloud Drive to store files, such as your photos, documents, and music
- Go to Apple menu > System Preferences, then click Apple ID. If you're using macOS Mojave or earlier, you don't need to click Apple ID.
- Select iCloud.
- Sign in with your Apple ID, if you need to.
- Select iCloud Drive.

If you want to add the files from your Mac Desktop and Documents folder to iCloud Drive, update your Mac to macOS Sierra or later then turn on Desktop and Documents. On your Mac, you can find the files on your Desktop and in your Documents folder in Finder under iCloud. If you add a second Mac Desktop, the files from your second Mac won’t automatically merge with the files on your first Mac. Go to your Desktop and Documents folders in iCloud Drive, then look for a folder with the same name as your second Mac.
To see the size of a specific file or folder, click it once and then press Command-I. To see storage information about your Mac, click the Apple menu in the top-left of your screen. Choose About This Mac and click the Storage tab. For Time Machine backups, it’s good to use a drive that has at least twice the storage capacity of your Mac.
If you experience any issue you can contact Apple support team
You can talk to Apple Support by provide your phone number and Apple Support will call you now.
Or Schedule a Call and make an appointment for Apple Support to call when it's convenient for you.
Or Call Apple Support Later by giving Apple your contact information and call when you're ready. ![]()
Also start a chat session with Apple Support now.